In addition to shared access, it is also possible to create more complex processes in the form of a workflow. A workflow differs from simple sharing in that multiple documents can be sent to multiple individuals or groups in a specific order. The system automatically sends requests by email to the recipients as soon as it is their turn.
In contrast to shared access, workflows are a kind of ‘black box.’ The selected documents are copied into the workflow in the background. When documents are uploaded, they are not stored in the ‘Documents’ section, and instead become part of the workflow. Changes are therefore NOT made in the documents in the filing system, but only in the workflow, and they must also be downloaded there once the workflow has been completed.
Create workflow
A new workflow can be created using the orange Create button (top left) or the dashboard. A wizard opens that guides you through the creation of the workflow.
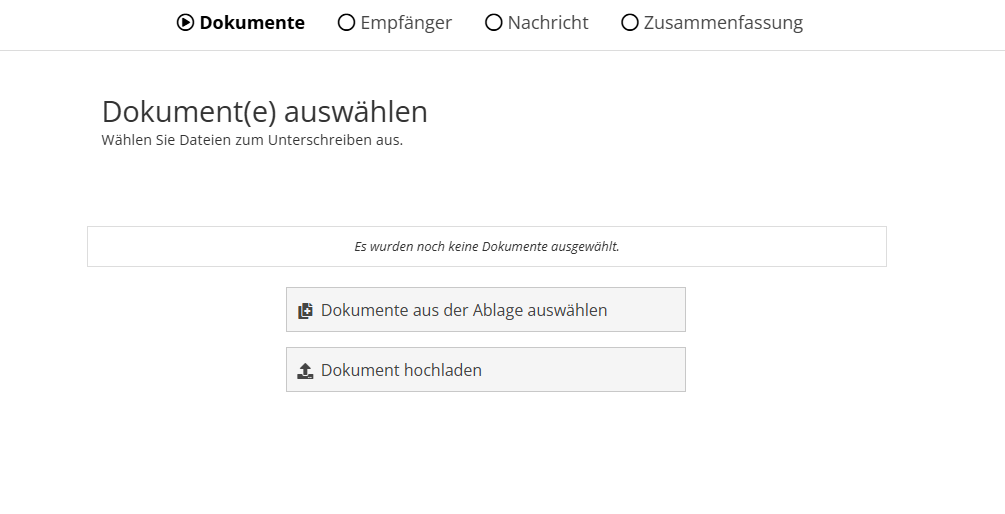
Select documents
First select the documents that are to be provided in the workflow. The documents can either be selected from the filing system (‘Templates’ or ‘Documents’ section) or new documents can be uploaded.
Configure recipients
Next, configure the recipients. A distinction is made here between the ‘workflow step’ and the ‘recipient of the workflow step.’
Any workflow steps can be created in the upper area via ‘Add step.’ Clicking a workflow step causes the recipients of the selected workflow step to be displayed in the section below.
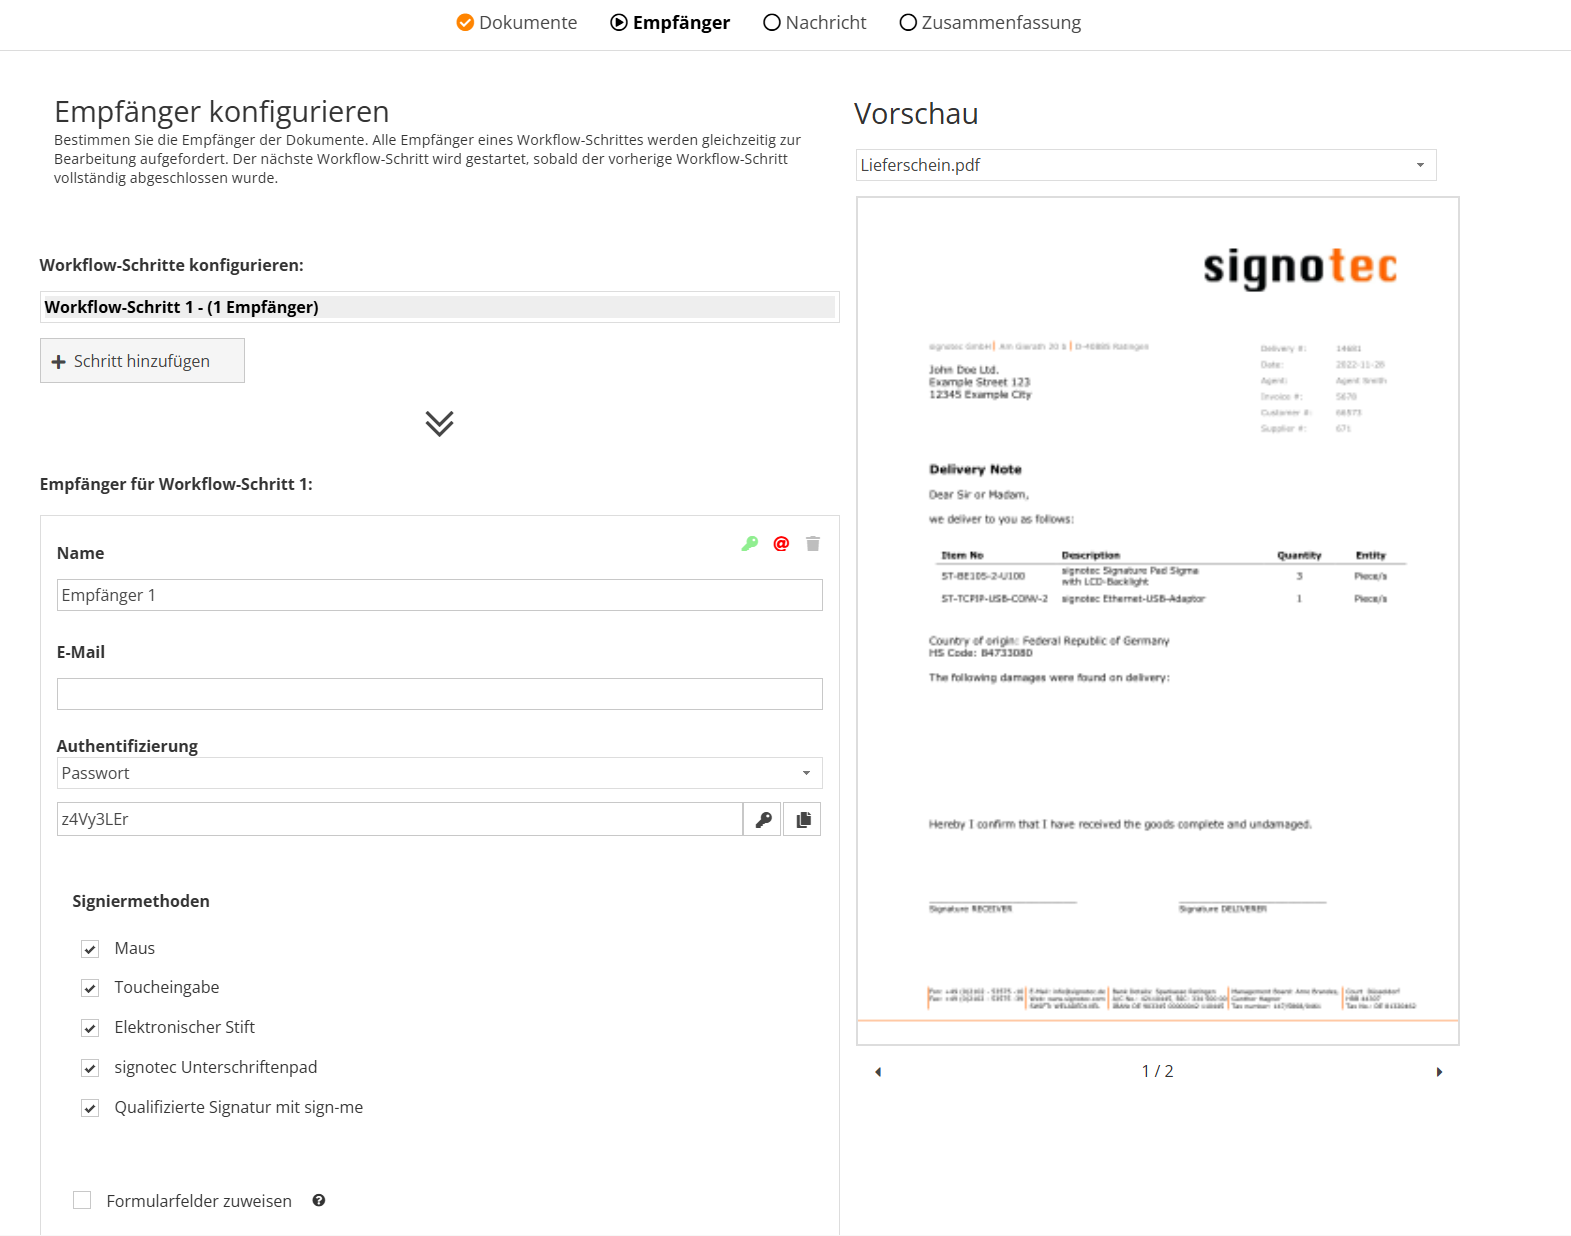
The basic logic in the process is that all recipients of a workflow step are requested to process at the same time. The next workflow step is only requested for processing once all the recipients of a step have completed processing. For example, if you want to share a document first with one person and then with two others, you need two workflow steps, with the first step containing only one recipient and the second containing the other two.
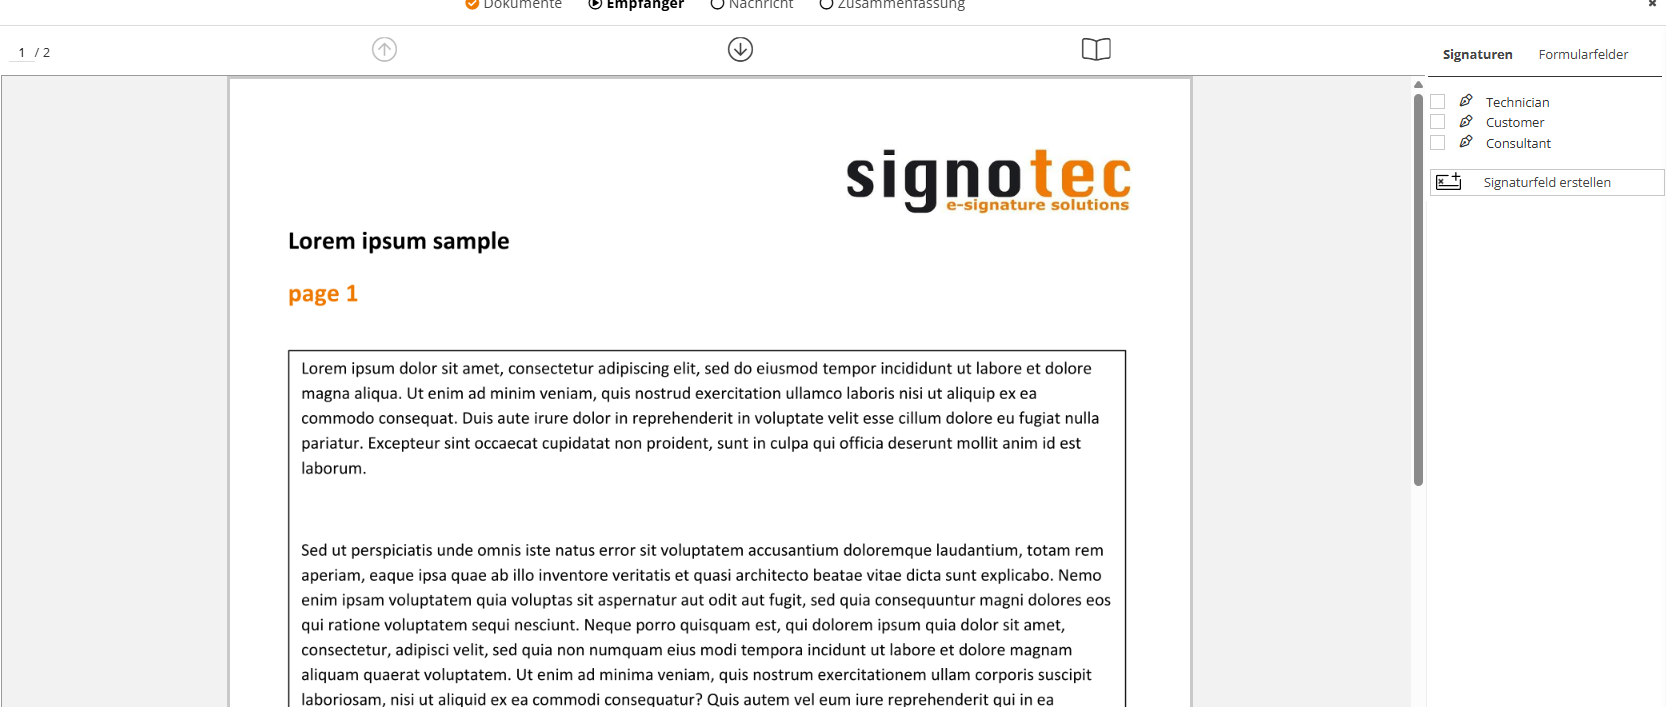
Assign form fields
You can assign each recipient the form fields to be processed by them only. If you want to assign form fields to the recipient, the document will be opened for you. Now you can assign or deselect form fields by clicking the field or selecting them from the sidebar. Selected fields are shown in green and unselected fields in red. The fields not to be edited by the recipient are not displayed. If you check the box for assigning the form fields but do not assign any form fields to the recipient, the recipient cannot edit any fields. If you do not check the box, all fields can be edited. This can be done for every document that has been attached to the workflow.
It is also possible to insert a signature field into the document by selecting ’Create signature field.’
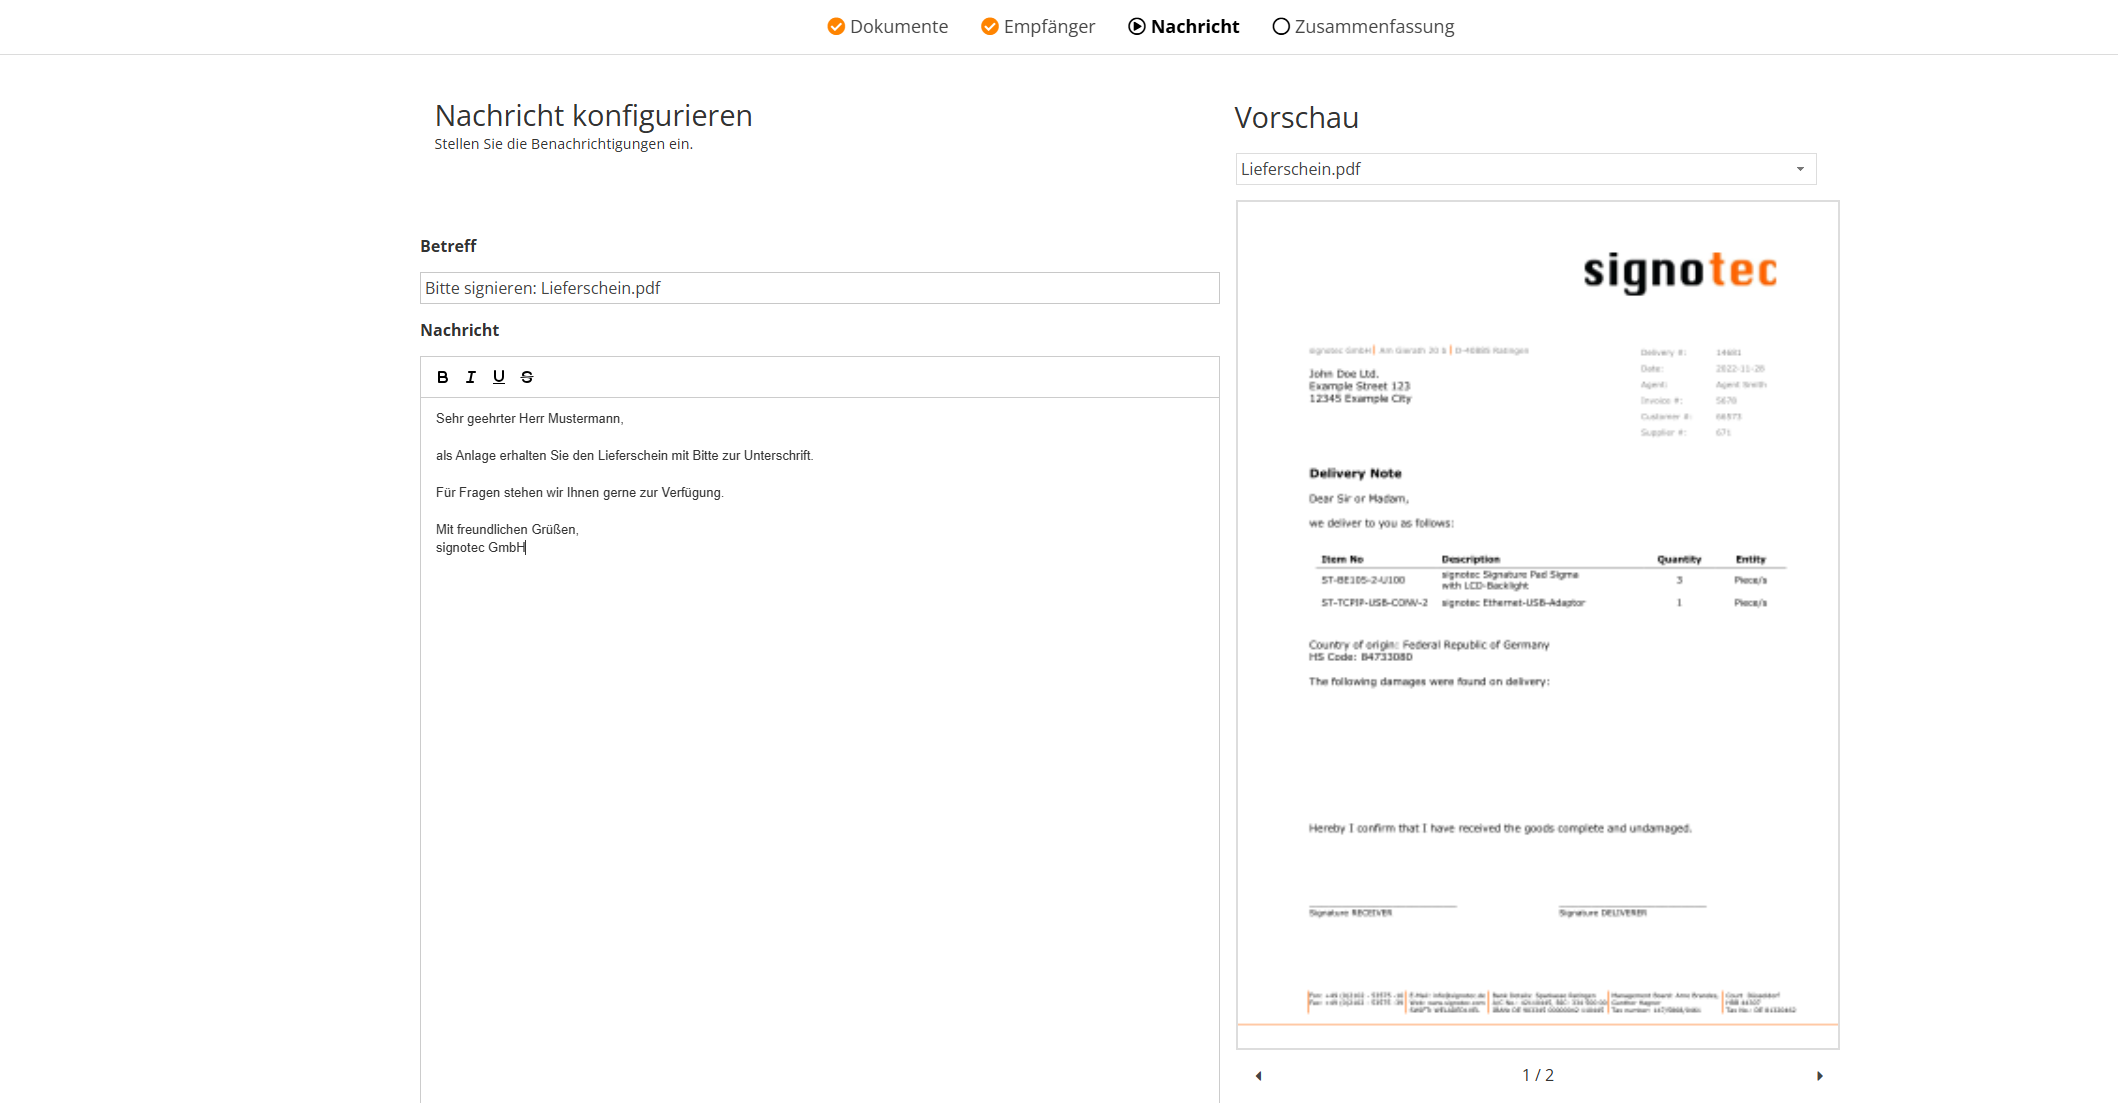
Configure message
Next, you can configure the subject and the message for the email that will be sent to the recipients.
Summary/review
In the last step to create the workflow, another overview is displayed containing the selected documents, the configured message, the workflow steps, and the recipients included.
Click on ‘Done’ to create the workflow. All recipients of the first workflow step are then immediately requested to process.
Manage workflows
In the Workflows menu, you will find all workflows that have not yet been completed under ‘In progress.’
The progress bar shows you how much of the workflow has been processed so far. The bar also shows how many recipients have processed the document and how many workflow steps are still outstanding.
You can use the drop-down button next to the workflow to open the workflow details or pause (or continue), rename, or cancel the selected workflow.
You can also use ‘Send reminder’ to send a reminder to all recipients whose turn it is.
Completed workflows
A completed or canceled workflow is displayed in the ‘Completed’ section. The workflow can also be deleted from there or the documents it contains can be downloaded.
Workflow detail page
On the details page of a workflow, you can view the selected documents, the configured message, and the workflow steps and recipients.
The workflow steps and recipients can be expanded so that you can see exactly which recipient has already processed which documents.