Header
The header contains the signoSign/Universal logo flush left, which can be replaced by a custom logo. A user icon and a help icon are displayed right-aligned.
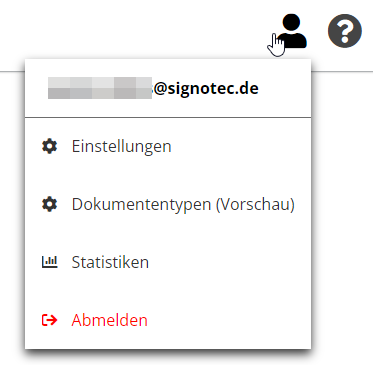
Settings, document types, and statistics can be accessed via the user icon. You can also log out from the application here.
The manual and further information on the application and terms of use can be accessed via the help menu.
Main menu
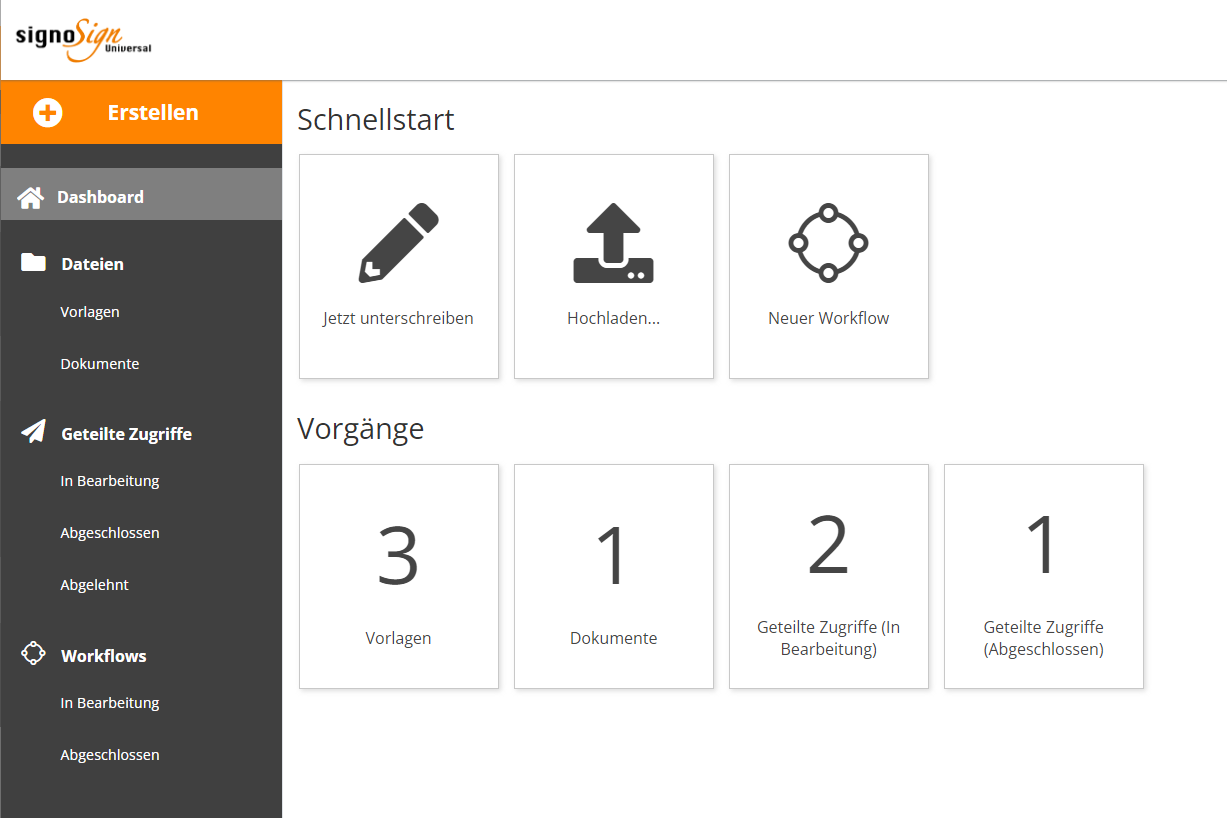
The main menu is located on the left-hand side of the application. It contains a highlighted ’Create’ button as well as the other sections of the software.
’Create’ button
The highlighted ’Create’ button can be used to upload new documents or create a new workflow. The button can be accessed easily from anywhere in the software.
’Dashboard’ section
In the ’Dashboard’ section, you will find a selection of quick start functions, such as uploading or opening a document and creating a workflow. You will also find an overview of the number of active processes with links to the individual areas.
’Templates’ section
In the ’Templates’ section, you can save documents that you want to use repeatedly as ’blank’ documents. Documents that you open for editing from this section are saved as a new document in the ’Documents’ section. The template itself remains unchanged and can therefore be used again and again.
You can find more information on managing documents in the ’Managing documents’ section.
It is not possible to edit a template. If you want to make changes to a template, first save the template as a document and then convert it back into a template. This is easily done using the ’Move’ function.
’Documents’ section
Individual documents are available in the ’Documents’ section. In contrast to the templates, these documents are overwritten by changes to the content or by the capture of signatures.
If a document has been shared, a paper airplane symbol is displayed next to the file name. If you click on this icon, a list opens in which you can view and manage the shared access to the document. Further information can be found in the ’Sharing documents’ section.
You can find more information on managing documents in the ’Managing documents’ section.
’Shared access’ section
The ’Shared access’ section displays all processes that were created using the ’Share access’ or ’Share document’ function.
Processes that have not yet been processed are displayed under ’In process.’ All processes that have been successfully completed are displayed under ’Completed.’ All transactions rejected by the recipient are displayed under ’Rejected.’
In both sections, you can see which documents were shared, and at what time, and whether the shared document has already been edited. From here, you can also delete the processes, which makes the generated link invalid.
Further information can be found in the ’Sharing documents’ section.
’Workflows’ section
All created workflows are displayed in the ’Workflows’ section. This section is divided into ’In progress’ and ’Completed’ in the same way as the shared access.
All workflows that have not yet been finalized are listed in the ’In progress’ section. In this section, the status is displayed using a progress bar. Further information on the workflows can also be accessed here.
All completed or canceled workflows can be found in the ’Completed’ section.
Further information can be found in the ’Workflows’ section.